Remote Video Astronomy
Practical solutions to questions when using video assisted Astronomy remotely
  • Home
  • RVA
  • Start Simple
  • Learn More
  • Expand
  • Downloads
  • Blog

The 2017 Eclipse

8/21/2017

0 Comments

 
I have eclipse good news and bad news from our site at Columbia, MO.  The bad news is it was cloudy Monday morning during the initial partial eclipse portion.  The good news is it cleared up for the afternoon eclipse portion. 
​
Picture
The total eclipse was definitely visible, though we still had some light clouds.  Even so, I was amazed when I took off my solar glasses during the total eclipse portion and looked up.  I didn't really know what I expected I could see, but it was better than anything I imagined! The Sun appeared as a dark disk, and I could clearly see the corona extending out from its surface - much further out that I thought it would be.  And it was easily visible to the naked eye! 
​
​
I used my Remote Video Astronomy setup with the laptop inside our camper connected to the DS2.3+ on my PST outside. This allowed the laptop to stay cool (and humans too) while capturing images of the eclipse.
Picture
I also ran a long HDMI cable from the laptop to a display outside the camper so we could see details of the eclipse progress while outside. 
Picture
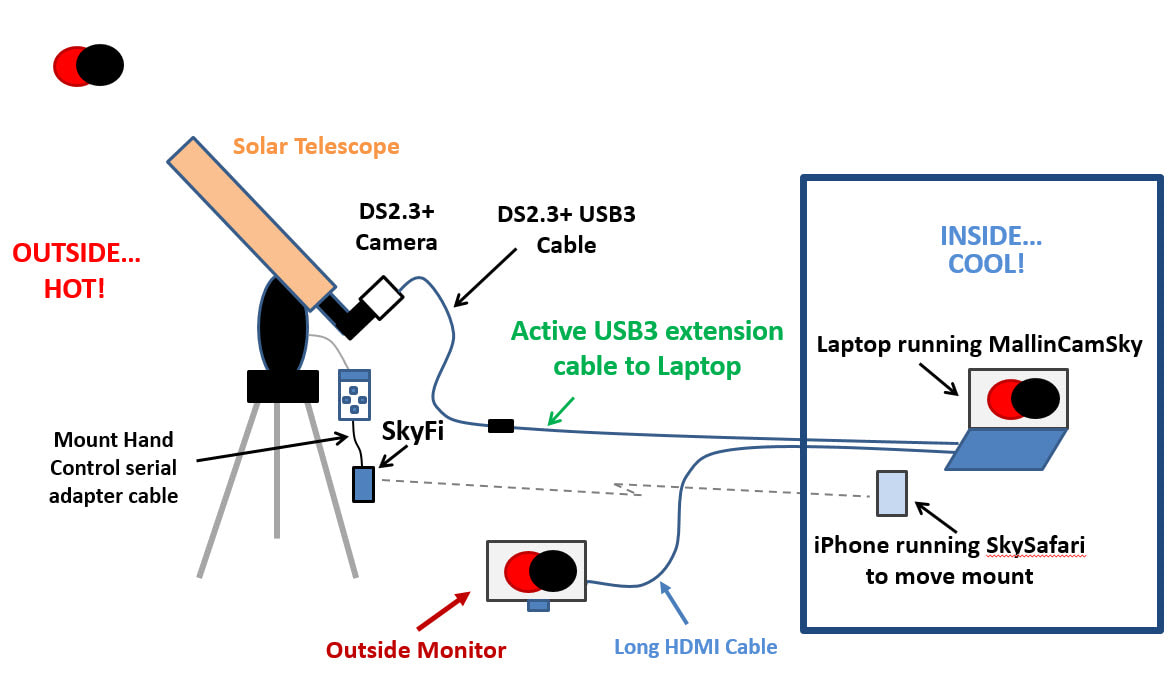
Because of the morning clouds, we couldn't see very well visually through the solar glasses prior to totality, but could at least see the telescope camera image of the progression of the eclipse on the outside display. 
​
Picture
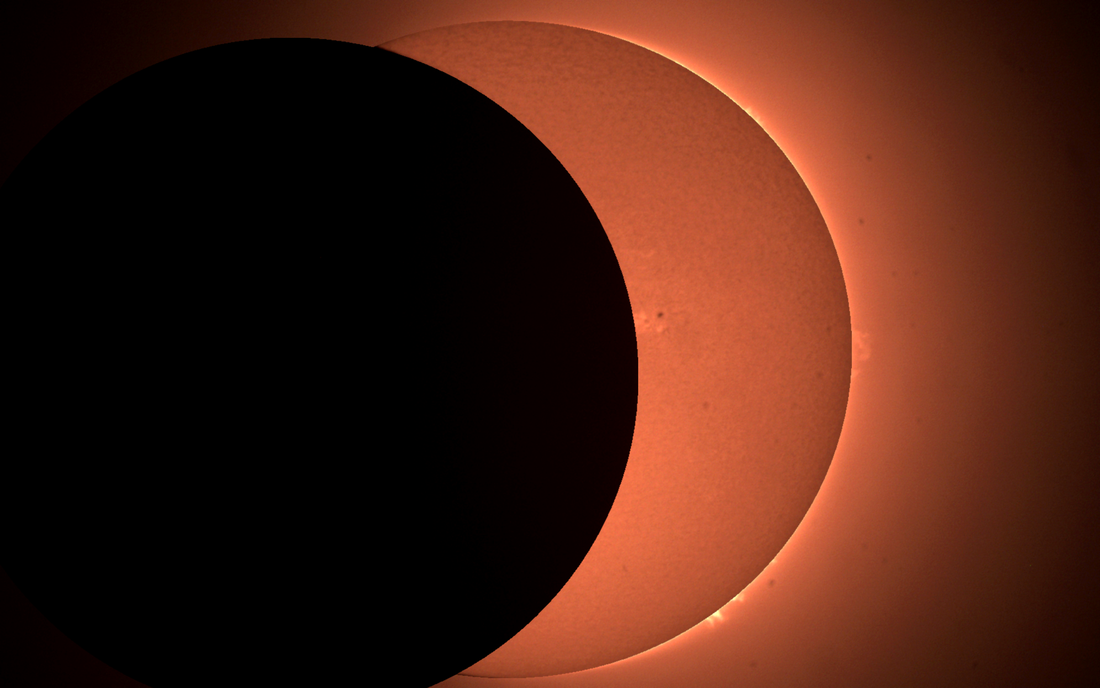
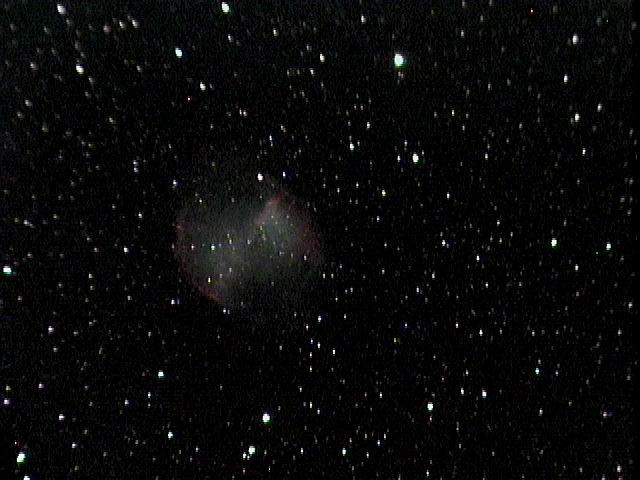
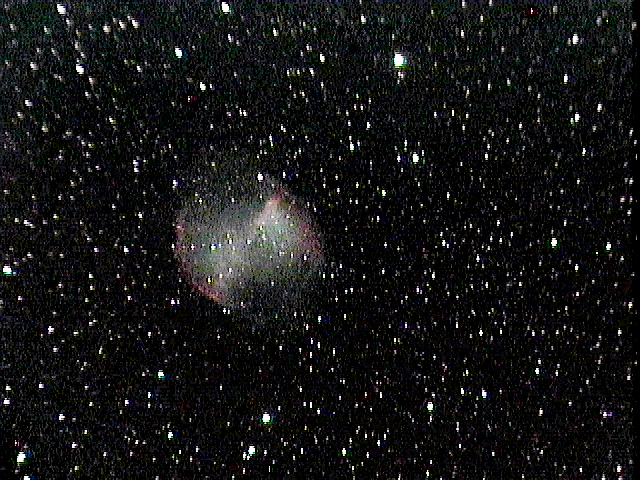
It cleared up nicely in the afternoon allowing me to capture some good partial eclipse images. We used the solar glasses outside for direct viewing of the Sun during the partial eclipse time.  I would periodically go inside and capture a short exposure showing the Sun’s surface and a longer exposure showing prominences extending from the surface.  These details were also clearly visible on the outside monitor. Below are a couple composite images where I combined a long and short exposure to see both the Sun’s surface and prominences in one image.  
​
Picture
Picture
You can see the rotation of the camera image over time due to my use of an Alt-Az mount.
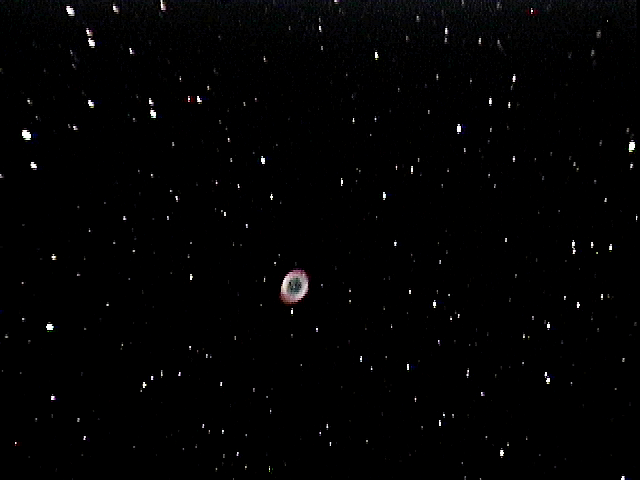
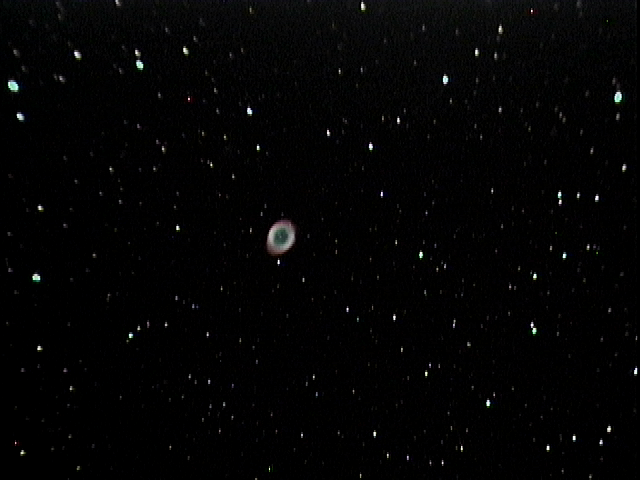
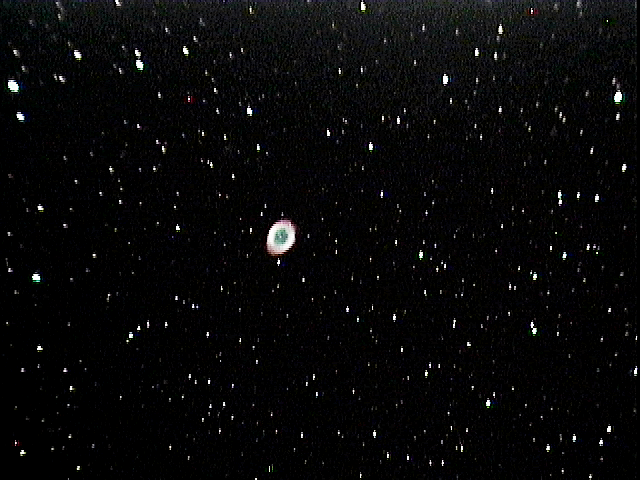
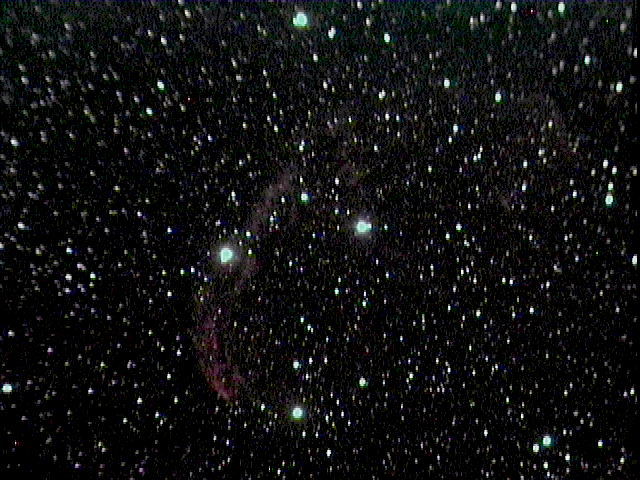
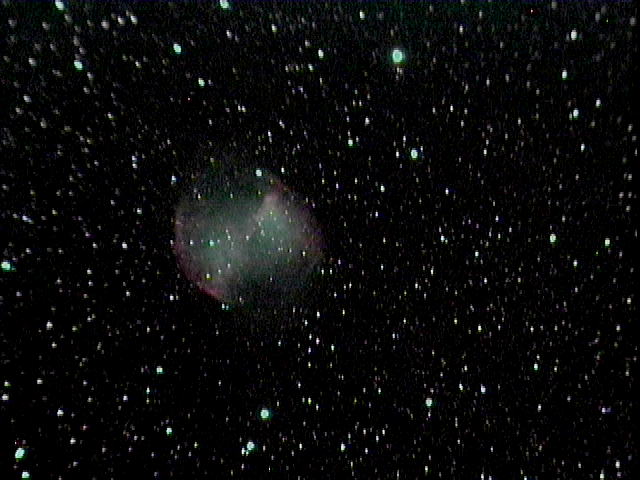
Here are a series of image captures (no post processing) showing the progression of the partial eclipse after totality (when we had clear skies).
​
Picture
Picture
I recorded a time lapse video during totality using my best guess pre-set exposure. It turned out it was fine for seeing prominences near the surface just after totality, but the exposure setting was not enough to capture corona effects during totality … and I was busy looking up directly with my eyes during totality rather than adjusting the camera settings.  Looking directly at the Sun and seeing the corona around it was very captivating! ​

Here is a link to my time lapse recording that does give a feel of the total eclipse event. It also conveys the dramatic difference between the partial eclipse portion and the total eclipse portion.  Not to sound trite, but it is literally a night and day difference.

www.youtube.com/watch?v=Zzm6GRg-S84

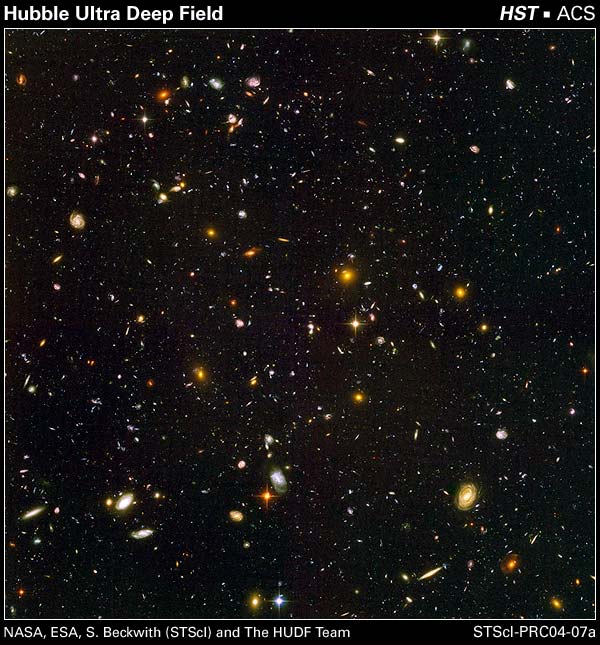
It was during the dark portion of this time lapse video clip that we were able to look up directly at the Sun and see the corona extending out from it. Since I did not capture any images during totality, Thom Pfeil has allowed me to post the following image he captured, which is an excellent reminder of what we saw as we looked up that day...
​
Picture

​In spite of the initial morning cloudy skies, the trip was well worth it. I'll never forget what I saw as I looked up during totality, and I enjoyed experiencing the images from the DS2.3+ both in real time and later as captured images.
​
​
So, in seven years I’ll be ready to apply what I learned and do this all over again.  Who knows what advances we will see in video astronomy in seven years!
0 Comments

Early to bed, Early to Rise

4/7/2017

1 Comment

 
Last night the moon was over half full, which made it good for viewing the moon but not for viewing Deep Sky Objects.  Looking at my SkySafari app on my iPhone, I noticed that the Moon would set about 3:40am and the Sun would rise about 6:40am.  And the weather report looked fairly clear for that time frame.  So I decided to get some viewing in despite the Moon … by avoiding it.  I set up my telescope in my backyard early in the evening and covered it.  I then set my alarm for 3:15am.
Picture
When I got up, I went out and uncovered my setup and started an alignment using my StarSense Auto Align process (it took about 4 minutes for it to align itself).  By the time I started viewing, the effects of the Moon were just about gone and the viewing was nice.

The following images are of some of the objects I got to see by avoiding the Moon.  I have provided some examples of different exposure times too.  I was using my Celestron 8” on a CG-5 mount and my MallinCam XT-828-II (i.e. Xterminator-II) with a MFR-5 focal reducer and no filters.  I used the Miloslick Mallincam Control software with the gain was set to 1 for my viewing session.

I have noticed that when I post my screen captures on the web, they don’t show up as well as I see them on my monitor next to my scope, or even inside where I keep my lights dim when viewing.  I normally do not like to perform any post processing after my viewing session, but I decided to try something that gives you a better feel for what I see when I am viewing.  I used the Windows 10 picture viewer to open each image, clicked Edit and then clicked on the magic wand under Enhance your photo.  This took less than 3 minutes to generate an enhanced version of each image that would give a better feel for how I saw them live (although this Enhance function does change the image detail some). I did not “play” with any of the Enhancement settings and just let it use the default enhancement method.  For the following images, the original screen capture is on the left and the simple enhanced image is on the right.  As I have said in another recent post, Video Astronomy is not about producing “picture perfect” images.  It is more a live experience similar to a visual viewing session using eyepieces, but you are using a Video Astronomy camera instead. 

Here is M51, the Whirlpool galaxy. Its Visual Magnitude is 8.01 and it is 28 Million light years away.  This is a 30 second exposure with the real time Histogram low-middle settings at 1-116. As I noted, the image on the left is the actual screen capture, and the image on the right is the simple enhanced image I generated after my viewing session to give you a better feel for what I experience during a Video Astronomy session.
Picture
Picture
​I then dropped the exposure time to 10 seconds and turned on real time stacking of 3 frames.  Thus the stacked image represents 3x10=30 seconds of information.  Since it is stacking three frames in real time, it updates the screen every 10 seconds using the last three 10 second images. The above 30 second exposure is smoother, while the stacked image below highlights some of the details.  This is the only time I used stacking during this viewing session. 
Picture
Picture

​Here is M13, the Hercules Cluster, using 5 second screen updates
.  Its Visual Magnitude is 5.78 and it is 23,000 light years away.
Picture
Picture
I increased the exposure from 5 seconds to 10 seconds which brought out even more stars.
Picture
Picture

​Here is M57, the Ring Nebula, using 5 second exposures.  Its Visual Magnitude is 8.8 and it is 1,400 light years away.
Picture
Picture
I again increased the exposure from 5 seconds to 10 seconds, which brought out even more detail.
Picture
Picture

​Next up was NCG6888, the Crescent Nebula, using 20 second updates. Its Visual Magnitude is 7.4 and it is 5,400 light years away. I had the real time Histogram low-middle settings at 15-96.
Picture
Picture

​Here is M27, the very familiar Dumbbell Nebula, using 10 second exposures. Its Visual Magnitude is 7.09 and it is 1,400 light years away. The real time Histogram was set at 23-119.
Picture
Picture
I increased the exposure to 20 seconds and adjusted the Histogram to 8-106 to see more detail.
Picture
Picture

​When you go to bed early, and rise early, your viewing session has a definite end…when the Sun comes up its over!  But I enjoyed the time I had.  I covered up my telescope, walked inside and went to bed (again).
1 Comment

Mysterious "rays" in the Flame Nebula

3/26/2017

0 Comments

 
I have had very helpful feedback concerning the mysterious "rays" in my image of the Flame Nebula in my 3/21/2017 post.  Here is the rest of the story.  It appears the "rays" are not associated with any nearby astronomer using a laser as an artificial star image in the atmosphere for their adaptive optics system to correct for atmospheric distortion.  Nothing as complicated as that. I learned it was probably just a lens flare effect from the bright nearby star, Alnitak. Oh.

To check out the idea that it is lens flaring from Alnitak just outside the FOV, I looked at the Flame Nebula again last night.  Yep, the mystery rays were still there as shown in the left image below.  Then I began to slightly move the telescope in the direction of Alnitak and guess what... that is where they were coming from.  Once Alnitak was in the field of view they went away as you can see in this series of three images
Picture
Sometimes when you are observing you find something you don't expect and you go down a rabbit trail. That's when I like to "follow the rabbit through the ditches" as we say in the South to find out more.  As another test, I tried a different combination of focal reduction and was able to eliminate the flaring effect with just the Flame Nebula in the Field of View.

I remember the first time I saw groups of short lines appear to pass through the Field of View of the Orion Nebula. Alien ships flying in formation?  Nope.  Later I learned it was from geosynchronous satellites.  Even though those satellites remain in a fixed position above the earth, they appear to pass through your field of view due to the tracking movement of your mount as the Earth turns.  For an example of this, see my 12/13/2014 Blog at ...

seeing-something-you-are-not-expecting.html

0 Comments

Xtreme Fun with my XT-828-II

3/21/2017

2 Comments

 
Video Astronomy fills the area between visual observing through an eyepiece and impressive images produced by Astrophotography.  Each of these three areas are important, and each fulfill the needs of Amateur Astronomers in different ways.  To me, Video Astronomy extends the visual observing experience to a new level allowing you to see things from your backyard well beyond what you can see through an eyepiece. It is different from Astrophotography since you are not trying to produce picture perfect images – you are simply looking to see what you can see.  You can experience the thrill of finding and seeing several galaxies, clusters and other deep sky objects in a single evening.   
​
Picture
 In November 2015 I had my MallinCam Xtreme (X2) upgraded with a new XT828 sensor in a sealed CCD chamber containing Argon gas plus other additions that effectively converted it to an MC Xterminator.   Recently I had the new electronics and Aerogel Insulation added like is in the Xterminator-II.  The Aerogel simplifies setup since it eliminates the need to use cooling fans. The first upgrade which added the XT828 sensor greatly increased the sensitivity, and the latest upgrade increased it even more.   What this all means is you can see Deep Sky Objects from your light polluted back yard using the shortest exposures for real time video observing than with any other camera. 

I typically use 3-15 sec exposure update intervals (and occasionally 20-30 seconds) with no filter. I use the Miloslick Mallincam Control application to control the camera settings, perform real time processing adjustments and view the image on my laptop.  All images shown here are screen captures with no further post processing or touch up.  My laptop has a really good LCD screen and displays the live images well, but the web images will give you a good feel of what a viewing session can be like.  

​
I had my first chance to use my XT-828-II with the recent electronics and Aerogel upgrade a couple of nights ago.  I was using my Celestron 8" on a CG-5 mount with a MFR-5 on my XT-828-II.  I used one 5mm spacer in the middle of the MFR-5 which makes this a F/4.1 setup.  I was eager to try out a target with stars to see how the new electronics affected them, so I chose M103.  Its Visual Magnitude is 7.4 and it is 7200 light years away.  The stars definitely are a more natural round shape. I left the APC H&V set to 0.  This image of M103 was at 3 seconds. 
​
Picture
Last night I had fun looking at a lot of Deep Sky Objects - 18 objects in about a 2.5 hour viewing session. The temperature was around 68 degrees and the sky quality meter showed 19.04 at the beginning and got a little better to 19.45 at the end. This is in my backyard with streetlights in the neighborhood and a city to the South. These are not dark skies! 
​

I started with the Orion Nebula, M42, at 3 seconds.  Its Visual Magnitude is 4.0 and it is 1400 light years away.
​
Picture
Even at this low setting, the core was fairly bright. With the new electronics, some of the brighter stars have a slightly darker center, but that does not bother me at all, and I like seeing the much more natural look of the rounder stars.  Even with the core being so bright, this effect allows you to see the Trapezium stars within the core.
​

I then tried the nearby Flame Nebula, NCG 2024, at 10 seconds.  Its Visual Magnitude is 10.0 and it is 820 light years away.
​
Picture
Can you see the two “death rays” coming out of the Flame at the lower left?  My telescope was pointed to the South over the city, so I surmised they may be lasers pointed at the sky. This is the first time I have ever seen this.  I came back to the Flame an hour later and observed the two “rays” in the same position relative to the Flame, even though it was now lower in the sky, so they are tracking with the Earth’s rotation.  Perhaps they are lasers being used for astronomy purposes.
​

Here is M1, the Crab Nebula, at 5 second updates using 3 stacked frames. Its Visual Magnitude is 8.39 and it is 6200 light years away.
​
Picture
Below is M100 using 6 second updates stacking 4 frames. Its Visual Magnitude is 9.31 and it is 52 Million light years away.
​
Picture
Here I saw M108 using 10 second updates stacking 4 frames. Its Visual Magnitude is 10.03 and it is 32 Million light years away.
​
Picture
Next up was an open cluster, M37, at 5 second update intervals.  Its Visual Magnitude is 5.59 and it is 4500 light years away.
​
Picture
At the lower center of the next image is a spiral galaxy, M61, at 10 second exposure.  Its Visual Magnitude is 9.63 and it is 40 Million light years away.
​
Picture
Here is a galaxy, M60, at 15 second exposure & averaging 6 frames.  Its Visual Magnitude is 8.81 and it is 56 Million light years away. Its faint companion is NGC 4647 at Magnitude 10.93. There is also a galaxy at the upper right, NGC 4667, at Magnitude 11.11.
​
Picture
Here is another spiral galaxy, M66.  I used 10 second exposure updates.  Its Visual Magnitude is 9.00 and it is 37 Million light years away.
​
Picture
I like using the SkySafari Ap to pick a target on my iPhone and slew my telescope to it.  I noticed that M65 was nearby in the sky and used SkySafari to slew from M66 to M65.   Here is M65, at 10 second updates with 3 stacked frames.  Its Visual Magnitude is 9.22 and it is 42 Million light years away.
​
Picture
I decided it was time to move my viewing session inside, so I ran a USB extension cable from the telescope through the garage into my living room. I also moved my MS Surface laptop from outside to inside and used its Windows 10 Project function to view my targets on my 55” TV.  I continued to control the camera on the telescope from the Laptop over the USB extension cable and slew the mount from my iPhone while inside.
​

Next up was M88, Visual Magnitude 9.51 and 36 Million light years away.  These are 8 second updates using 4 stacked frames.
​
Picture
Here is another spiral galaxy, M90, at 15 second updates with 2 stacked frames.  Its Visual Magnitude is 9.46 and it is 39 Million light years away.
​
Picture
Here is an interesting shaped spiral galaxy, M95, at 15 second updates with 3 averaged frames.  Its Visual Magnitude is 9.77 and it is 32 Million light years away.
​
Picture
Nearby in the night sky is M96, also at 15 second updates with 3 averaged frames.  Its Visual Magnitude is 9.22 and it is 32 Million light years away.
​
Picture
The lower elliptical galaxy in the image below is M105.  I used 15 second updates averaging 3 frames. Its Visual Magnitude is 9.27 and is 37 Million light years away. You can also see NGC 3371 up and to the center, which is 31 Million light years out.  Faintly near the top is NGC 3373 at 12.03 magnitude and 63 Million light years away.
​
Picture
M97 is a fun Planetary Nebula, called the Owl Nebula. It is at 10 second updates with 5 averaged frames.  Its Visual Magnitude is 9.8 and it is 1700 light years away.
​
Picture
Back to spiral galaxies we see M98, at 10 second updates with 3 averaged frames.  Its Visual Magnitude is 10.01 and it is 41 Million light years away.
​
Picture
Last but not least, a little further over is M99, the Coma Pinwheel Galaxy. I used 10 second updates averaging 5 frames. Its Visual Magnitude is 9.82 and it is 42 Million light years away.
​
Picture
So there you have it, 18 Deep Sky Objects in a 2.5 hour Video Astronomy viewing session, including the time taken in the middle to move from outside to inside.
​
2 Comments

The Heavens declare God’s Glory

4/26/2016

0 Comments

 
​There are many reasons why people get interested in Astronomy.  The Universe is an amazing place.  The vastness of our cosmos can be hard to fathom though.  Chapter two of NightWatch by Terence Dickinson takes you through 11 steps to help visualize this.  Each drawing represents a cubic volume of space a million times larger than the one before, beginning with Earth, moving out through the solar system and our Galaxy, taking in more and more Galaxies until you expand beyond our known Universe. Currently Hubble reveals an estimated 100 billion galaxies in the Universe, but this number is likely to increase as telescope technology in space continues to improve.
 
Whenever you point your telescope skyward into the Heavens, you are actually looking back in time.  Your telescope becomes a visual time machine where you look into a time in the past, depending upon how far away the object is you are viewing.  Our nearest star is Alpha Centauri, and yet it takes 4.7 years for its light to reach us.  And this is the nearest star! What we see when we point our telescope at Alpha Centauri is how it looked 4.7 years ago.

​Several years back the Hubble telescope was pointed to a very small region of the sky (about the size of a grain of salt held at arm’s length) in the constellation Ursa Major.  This area is so small that only a few stars in our own Milky Way galaxy lie within it.  Thus almost all the 3,000 objects in the image are galaxies outside ours. Later this was repeated in a small region of the constellation Fornax, producing the Hubble Ultra-Deep Field image containing an estimated 10,000 galaxies.
Picture
Being able to exploring the vastness of space, whether it is from a telescope placed in orbit, or from your own backyard, is one of the attractions of Astronomy.  Then there is the thrill of viewing deep sky objects that are visually stunning.  The Orion Nebula is an easy object to see through your backyard telescope, and using video astronomy enables you to see it in even more color and detail.  Here is an image capture of my live view of how the Orion Nebula (M42) looked 1,350 years ago. 
Picture
​These are just a couple of the reasons people become fascinated with Astronomy.  As an Orthodox Christian, my interest is primarily to learn more about God’s creation.  Many areas of Science have been explored by those who wanted to do likewise, to learn how God put this great Universe together, how the laws of physics work, what are the processes at work.  No, you do not have to be a believer in God to appreciate all this.  But if you are, it expands your appreciation, not just of the Universe, but of our Creator who designed all of this. 
0 Comments
Forward>>

    Author

    Astronomy was my favorite hobby many years ago, but was gradually set aside due to work, family and life in general.  In recent years I resumed my hobby looking forward to using the new technology that is now available.  Then I discovered Video Astronomy.  Then I learned how to do it Remotely.  I wrote some books, and decided to set up this web site to continue to pass on what I learn.

    ​Jim Meadows

    Questions or comments?  Email me at:
    ​[email protected]

    NOTE: If you use Microsoft Edge and clicking on an Archives or Categories link below does not work, please try an alternate browser (e.g. Chrome).

    Archives

    February 2025
    August 2024
    April 2024
    February 2024
    October 2023
    June 2023
    September 2022
    May 2022
    May 2021
    December 2020
    October 2020
    May 2020
    March 2020
    February 2020
    July 2019
    June 2019
    May 2019
    January 2019
    December 2018
    November 2018
    October 2018
    April 2018
    March 2018
    November 2017
    October 2017
    September 2017
    August 2017
    June 2017
    April 2017
    March 2017
    January 2017
    December 2016
    October 2016
    August 2016
    July 2016
    May 2016
    April 2016
    March 2016
    February 2016
    January 2016
    December 2015
    September 2015
    August 2015
    June 2015
    April 2015
    March 2015
    January 2015
    December 2014
    November 2014

    Categories

    All
    Accessories
    AGc / AGm
    Articles By Others
    Astrophotography
    Auto Align
    Build
    Commentary
    DS10c
    DS2.3+
    DS26cTEC
    DS8300cTEC
    Eclipse
    Focal Reduction
    Hyperstar
    LHDR
    LPP
    Mallincam Micro
    MallinCam Netbook Kit
    MallinCamSky
    MallinCam X2 / XT
    MallinCam Xterminator
    Miloslick
    Mmec Software
    Permanent
    Pier
    Portable
    Pro Dob 2
    RASA
    RVA
    SkyBT
    SkyFi
    SkySafari
    SkyShed
    Software
    Solar Viewing
    Star Parties
    Starter Telescope
    Video Astronomy

    RSS Feed

Web Hosting by Domain.com